

When the snow finally melts as winter transitions into spring, our full energies usually revive, and everyone begins to feel more productive and motivated for spring cleaning.
Of course, getting your home decluttered and organized after a long winter will be your top priority. Still, you should make sure to also save room in your schedule for spring cleaning in other areas as well—like your shipping container!
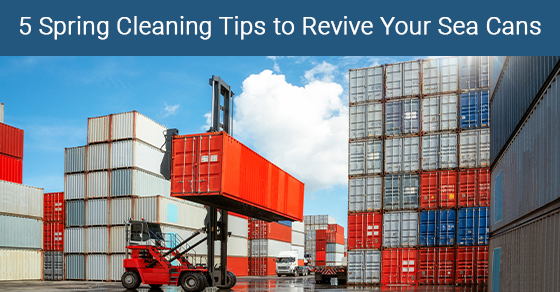
Although sea cans are not often considered for deep cleaning, they can benefit from thorough maintenance just as much as your home. In fact, putting the time and effort into such maintenance is necessary to keep your shipping container in good condition and protect its stored items.
Although shipping containers are designed to be durable and strong, properly maintaining them (which includes regular cleaning) will extend their life. Exposure to moisture from rain and melted snow could lead to rust and other damage over time.
If the inside of your sea can is unclean, it could also attract various pests, like insects or mice. Once they get inside, they may even feed on your valued belongings.
Helpful Tips and Strategies for Cleaning Sea Cans
Even if you know all the best strategies for tackling cleaning around your home, the same approaches may not carry over well to maintaining a shipping container.
Fortunately, various strategies can be incredibly effective when you are aiming to clean sea cans, including the following:
1. Maintain ventilation and airflow
Most potential problems you want to avoid with a shipping container, such as the development of rust, mould, or mildew, are related to a moisture buildup. One of the best possible solutions for this issue is to let the air out of the container for a few hours to allow for some ventilation.
One great way to do this is to install some louver vents, which will help improve the airflow through the container. You can also place your container on cement blocks so moisture does not build up beneath it.
2. Keep the floor clean and covered
Although it may take some time, it is a good idea to take everything out of your sea can so that you can completely access its floor to complete a solid cleaning. If you really want to do a full, deep clean, and you have access to a pressure washer, it might be the best possible tool for the job.
However, even if you do not go that far, you should hose the floor down or give it a good sweeping to get rid of any dirt or dust. If you decide to go with the pressure washer or hose route, make sure to give the floor plenty of time to dry afterwards.
After cleaning and drying the floor, cover it with a plastic sheet, as this will function as a moisture barrier for added protection of your things. Aside from moisture protection, this will also make future floor cleaning much simpler and faster.
3. Sanitize the walls
Another key step to always include in your sea can cleaning process should be properly sanitizing its walls. Using a mixture of water and bleach to clean them will help prevent the growth of mould and bacteria.
Make sure you exercise extra caution while handling chemicals by wearing gloves and a mask. Allow the container to air out for a while afterwards to get rid of any fumes from the bleach.
4. Seal any cracks
As you are cleaning your sea can (or immediately afterwards), before you start filling it back up with your things, thoroughly inspect the entire unit, both inside and out, to search for cracks and seams.
Such cracks could be allowing moisture to enter the container. Even the tiniest ones that may seem harmless could eventually lead to moisture buildup. If you find any cracks or seams, use a waterproof sealant like tar tape to seal them up.
5. Organize your boxes
As you load everything back into your sea can after cleaning it thoroughly, organize it to make it more functional for when you need to find and retrieve certain things.
Remember to label all the boxes within so that you will always know exactly where everything is. You can also group these boxes together into different categories to make the layout inside the container easier to navigate.
How Secure Container Solutions Can Help You Find Top-Quality Sea Cans
If you want to store your things in a shipping container, but haven’t found one yet, Secure Container Solutions can help. We have a wide selection of sea cans in stock that are guaranteed to meet your storage needs.
As Canada’s premier shipping container provider since 2007, we have the highest quality shipping containers for our customers to choose from, all of which are clean, painted, and well-maintained.
Our shipping containers are also equipped with high-security lock boxes, so no matter what you decide to store inside, they are always secure and protected against potential thieves and intruders.
Whether you have a ton of things that you need to get out of your home and into storage, or you are just looking for extra storage space to make more room around your house, we have sea cans in various sizes and styles to meet your needs.
We also have both shipping container rental and purchase options available for short or long-term storage solutions. Once you decide on the right sea can for your needs, we will even deliver it directly to you to make the process as simple as possible.
For more information about our shipping container rental and purchase options, or to learn more about the sizes and dimensions of our containers, call Secure Container Solutions at 647-560-2745 or contact us here.
Leave a Reply